
01 · Timing
When and how to begin
Start indoors or sow after frost; transplant once plants are sturdy and conditions are mild.
02 · Growing sequence
See the crop change before it happens.
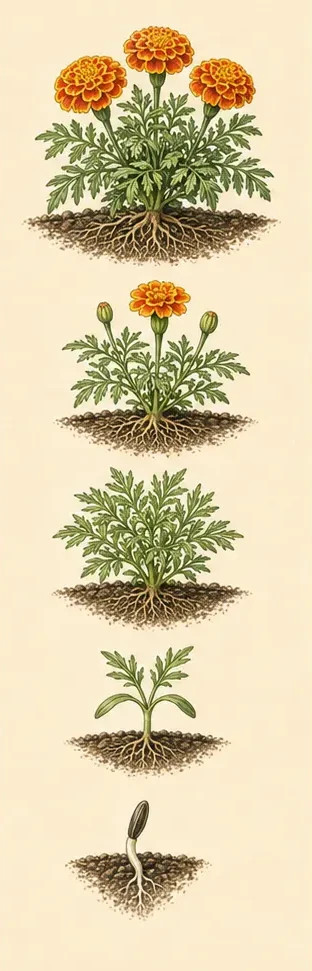
- 01Use compact types along bed edges.
- 02Avoid overly rich soil that creates weak growth.
- 03Deadhead regularly.
- 04Keep foliage dry when disease pressure is high.
03 · Below the surface
Give the roots their working volume.
8–12 in final spacing
¼ in
A compact fibrous root system establishes quickly but performs poorly in saturated soil.
04 · Harvest
Know when it is ready
Still developing
Deadhead spent flowers to extend blooming, or leave selected heads to dry for seed.
Quality or vigor may decline when harvest is delayed beyond the intended stage.
05 · Common trouble
Inspect before you treat
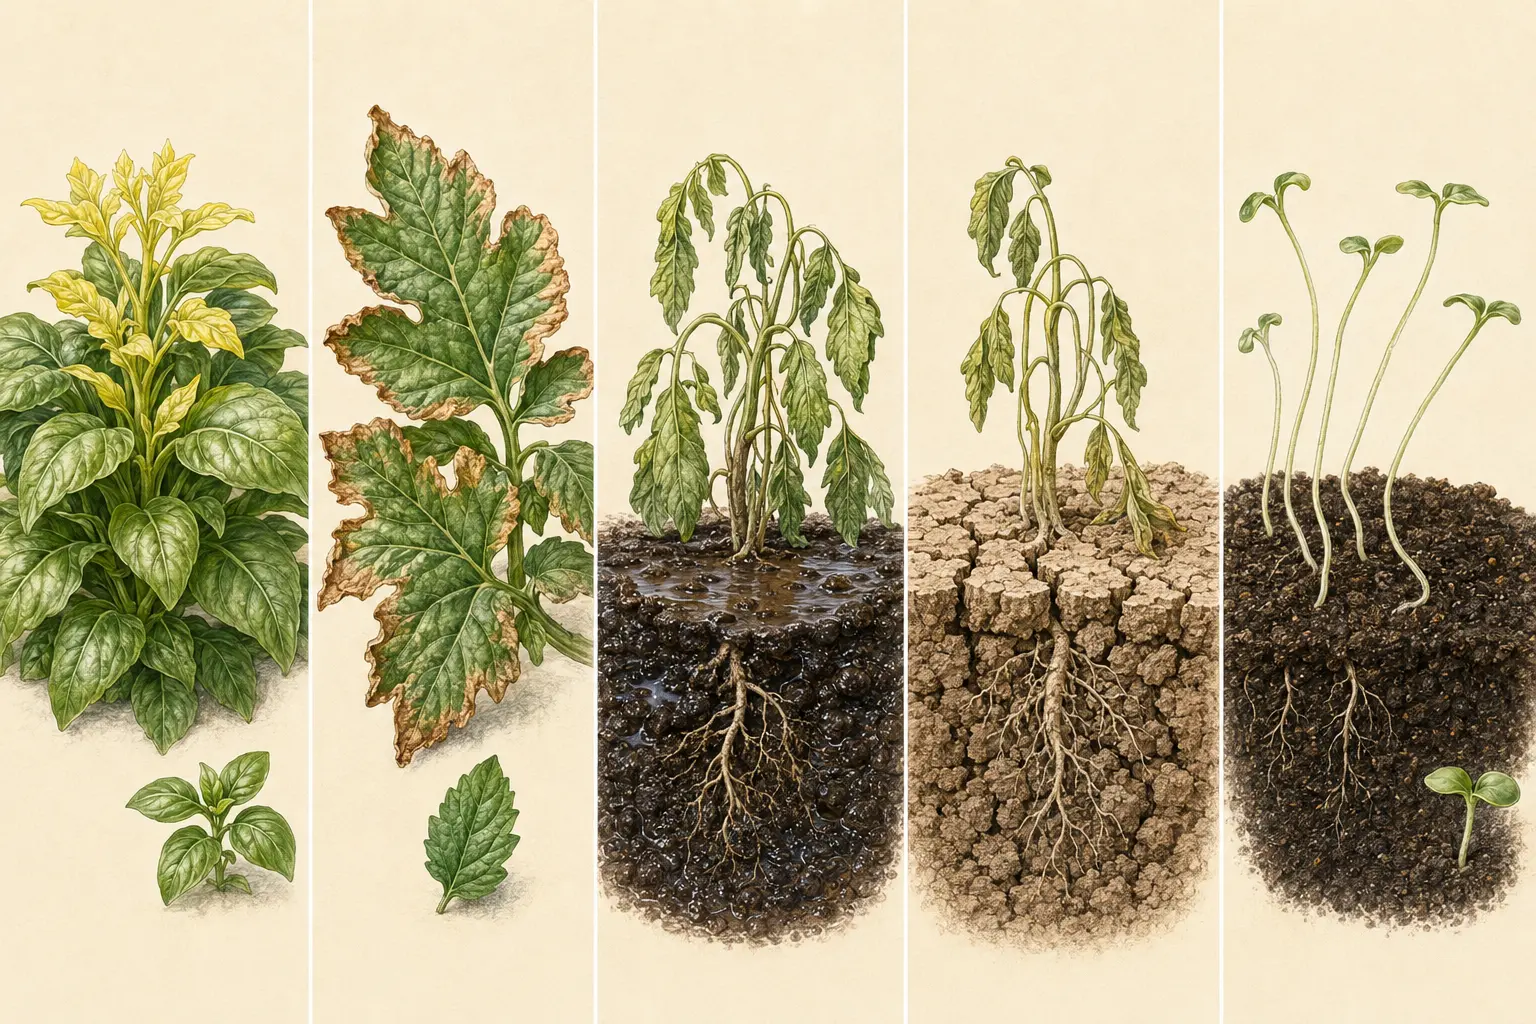
Symptoms can share several causes. Check moisture, recent weather, and the complete plant before applying a treatment.
Open the illustrated problem solver →