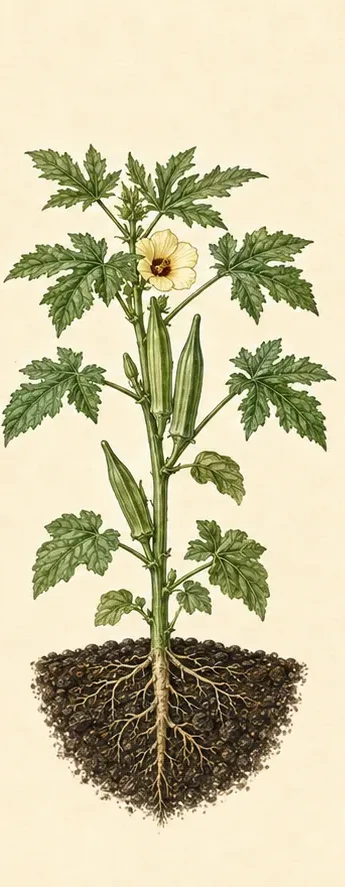
01 · Timing
When and how to begin
Direct sow after soil is thoroughly warm or transplant carefully from individual cells.
02 · Growing sequence
See the crop change before it happens.
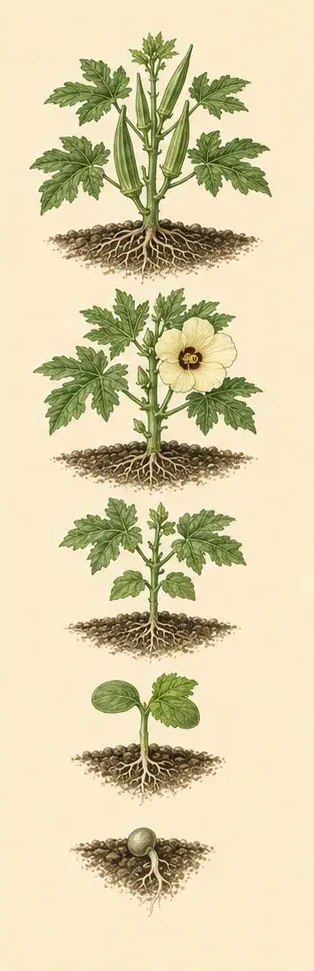
- 01Wait for genuine summer warmth.
- 02Thin to final spacing early.
- 03Wear gloves if the foliage irritates skin.
- 04Harvest frequently before pods toughen.
03 · Below the surface
Give the roots their working volume.
12–18 in final spacing
1 in
A strong taproot makes direct sowing or very careful transplanting preferable.
04 · Harvest
Know when it is ready
Still developing
Cut pods while small and tender, checking plants every day or two during peak production.
Quality or vigor may decline when harvest is delayed beyond the intended stage.
05 · Common trouble
Inspect before you treat
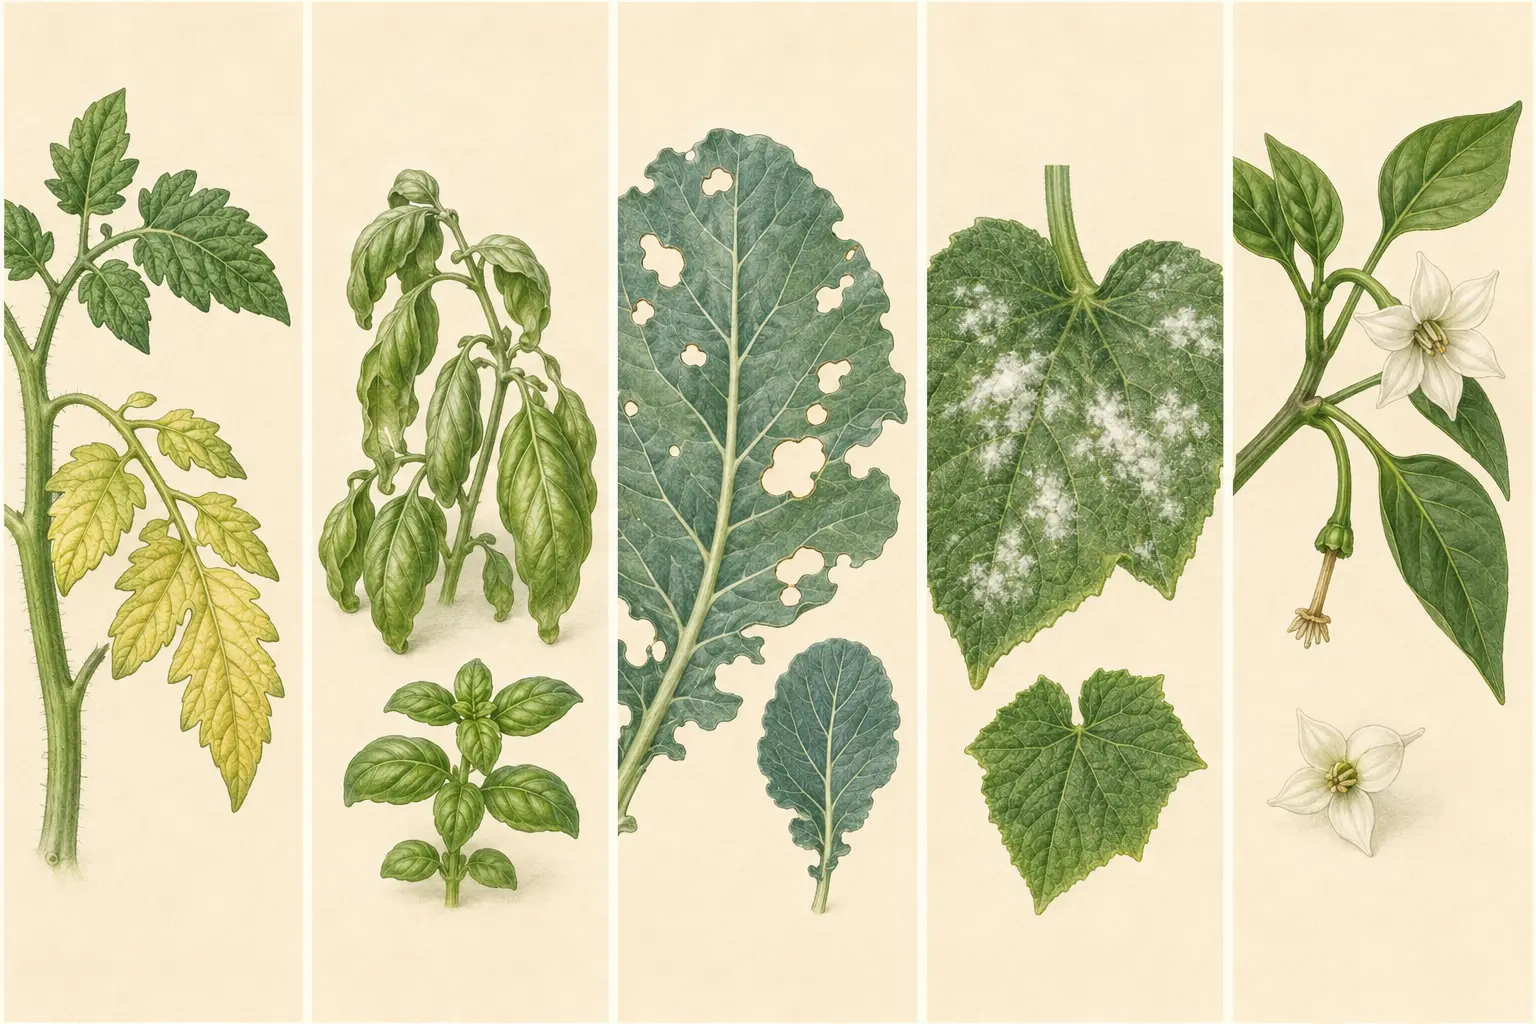
Symptoms can share several causes. Check moisture, recent weather, and the complete plant before applying a treatment.
Open the illustrated problem solver →